
Homemade Whipped Cream: The Ultimate Guide to Light, Fluffy Perfection
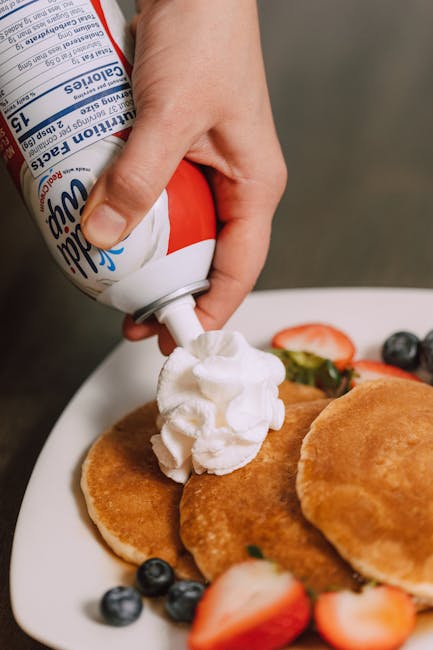
Forget those aerosol cans of chemically-laden whipped cream! This comprehensive guide will teach you everything you need to know about making homemade whipped cream, from choosing the right cream to achieving that perfect, cloud-like texture. We’ll explore various techniques, troubleshoot common problems, and even inspire you with delicious flavor variations to elevate your desserts and beverages.
Understanding the Science of Whipped Cream
The secret to incredibly light and fluffy whipped cream lies in understanding the science behind it. It all starts with fat. Heavy cream, with its high fat content (at least 36%), provides the structure needed for stable whipped cream. The fat globules in the cream trap air, creating those airy peaks. When you whip the cream, you’re essentially incorporating air into the fat globules, expanding their volume and creating a stable emulsion.
The Role of Fat Content
Using heavy cream is crucial. Lower-fat alternatives like half-and-half or whole milk won’t whip properly. They lack the necessary fat to stabilize the air bubbles, resulting in a watery, thin product. If you’re looking for a lighter option, consider using a combination of heavy cream and crème fraîche for a slightly tangier, less rich result.
Temperature Matters
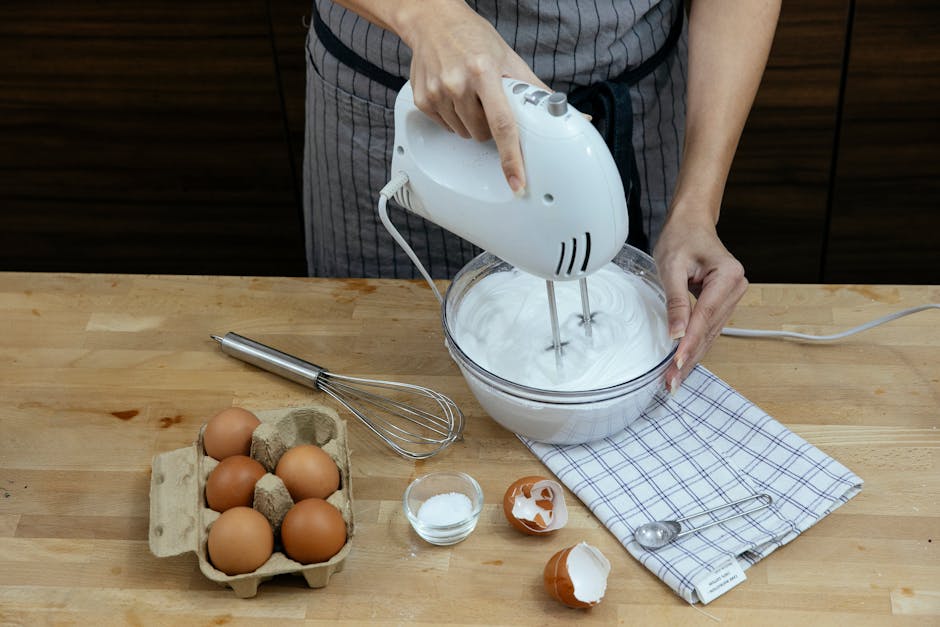
Cold cream whips better. Chilling your cream and your mixing bowl in the refrigerator for at least 30 minutes before whipping is essential. Cold cream holds its shape better and prevents the fat from melting too quickly, ensuring a more stable product.
Equipment Essentials for Perfect Whipped Cream
While you can whip cream by hand, using the right tools will make the process much easier and faster. Here’s what you’ll need:
- Heavy cream: Choose a brand with at least 36% milkfat.
- Mixing bowl: A chilled, stainless steel bowl is ideal as it keeps the cream cold.
- Whisk or electric mixer: A hand mixer is quickest, but a sturdy whisk works well for smaller batches.
- Spatula: For folding in flavorings and ensuring even distribution.
- Optional: Fine-mesh sieve (for removing lumps from flavored whipped cream).
Step-by-Step Guide to Making Homemade Whipped Cream
Follow these instructions to achieve perfectly whipped cream every time:
- Chill: Place your mixing bowl and heavy cream in the refrigerator for at least 30 minutes before beginning.
- Pour: Pour the chilled heavy cream into the chilled bowl.
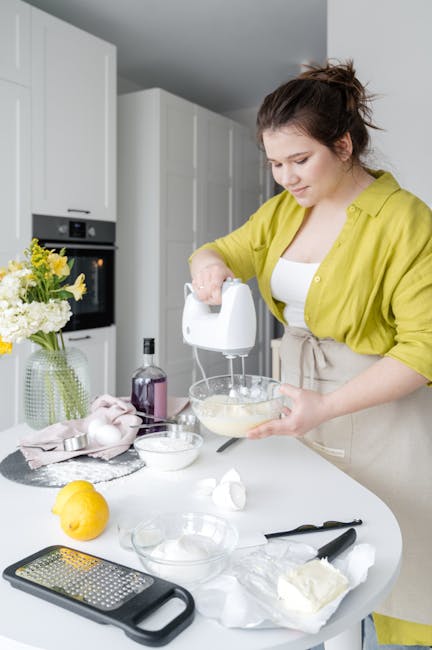
- Whip: Using your electric mixer or whisk, begin whipping on a low speed. Gradually increase the speed as the cream starts to thicken.
- Monitor: Keep a close eye on the cream. It will initially become frothy, then gradually thicken to soft peaks. Continue whipping until you reach stiff peaks.
- Sweeten (optional): Add powdered sugar or confectioners’ sugar gradually, while whipping, to your desired sweetness. Be careful not to over-sweeten.
- Flavor (optional): Add vanilla extract, cocoa powder, or other flavorings once the cream has reached stiff peaks. Gently fold them in using a spatula.
- Serve: Immediately serve your homemade whipped cream, or transfer it to an airtight container and refrigerate for up to 2 days.
Troubleshooting Common Whipped Cream Problems
Whipped Cream is Too Thin or Won’t Whip
This often happens if your cream wasn’t cold enough, or if you used a cream with insufficient fat content. Ensure you’re using heavy cream (at least 36% milkfat), and chill everything thoroughly.
Whipped Cream is Too Thick or Grainy
Over-whipping is the culprit here. Once you reach stiff peaks, stop whipping immediately to prevent the cream from becoming grainy or separating.
Whipped Cream Separates
This often happens due to overheating. Make sure your bowl and cream are very cold, and avoid over-whipping. If separation occurs, gently try to fold it back together with a spatula.
Creative Flavor Variations for Homemade Whipped Cream
The possibilities are endless! Experiment with these delicious flavor combinations:
- Vanilla Bean Whipped Cream: Scrape the seeds from a vanilla bean pod and add them to the cream during whipping.
- Chocolate Whipped Cream: Add unsweetened cocoa powder and a pinch of salt.
- Coffee Whipped Cream: Stir in instant coffee granules or strong brewed coffee.
- Citrus Whipped Cream: Add zest and juice from lemons, limes, or oranges.
- Spiced Whipped Cream: Incorporate cinnamon, nutmeg, or cardamom.
- Mint Chocolate Chip Whipped Cream: Combine chocolate shavings and finely chopped fresh mint.
Using Your Homemade Whipped Cream
Homemade whipped cream elevates almost any dessert or beverage. Use it to top:
- Cakes and pies
- Hot chocolate and coffee
- Ice cream and parfaits
- Fruit crumbles and cobblers
- Pancakes and waffles
- Mousse and puddings
With practice, you’ll become a whipped cream master. Enjoy the delicious results of your culinary efforts!
